Using the Single Click Installer (SCI) to install ThinScale Desktop Agent or Secure Remote Worker on a PC
Step-by-step guide to help you with TDA or SRW installation process using the weblink. #SRW-KB6
Before proceeding, please ensure that your Windows is up to date.
Detailed instructions can be found below
Click HERE to expand and see how to update your Windows
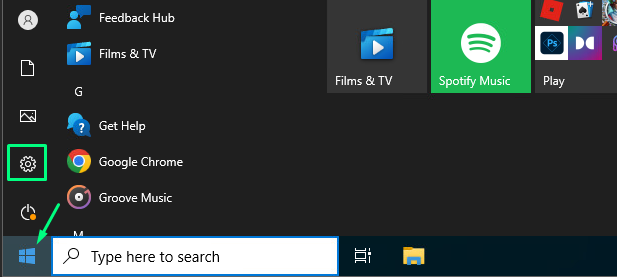
1. Click the “Start button”. It’s usually at the bottom-left corner of the screen.
- Windows periodically checks for updates and installs them automatically. You can still use this method to check for updates that have been released since the last update check ran as well as check for any optional new features.
-
After Windows installs an automatic update, it may prompt you to reboot your computer. If you see a message asking you to reboot (or schedule a reboot), follow the on-screen instructions to do so.
2. Click “Settings”  It's next to an icon that resembles a gear. It’s toward the bottom of the Start menu in the panel to the left.
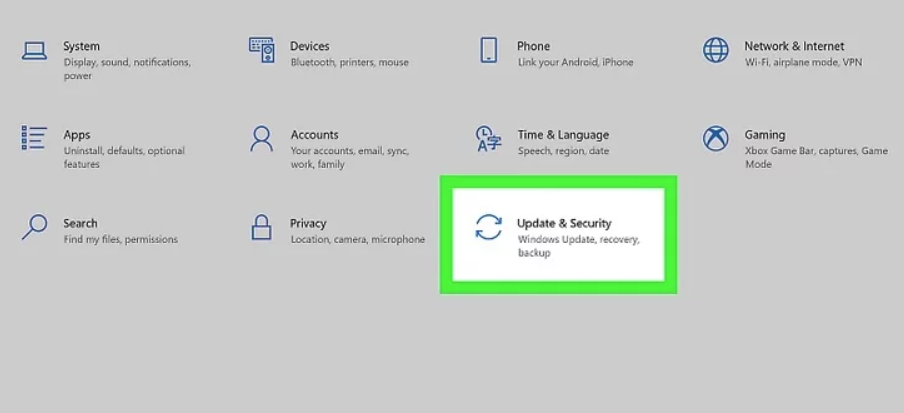
4. Click "Update & Security" It’s the option that has an icon that resembles two curved arrows.
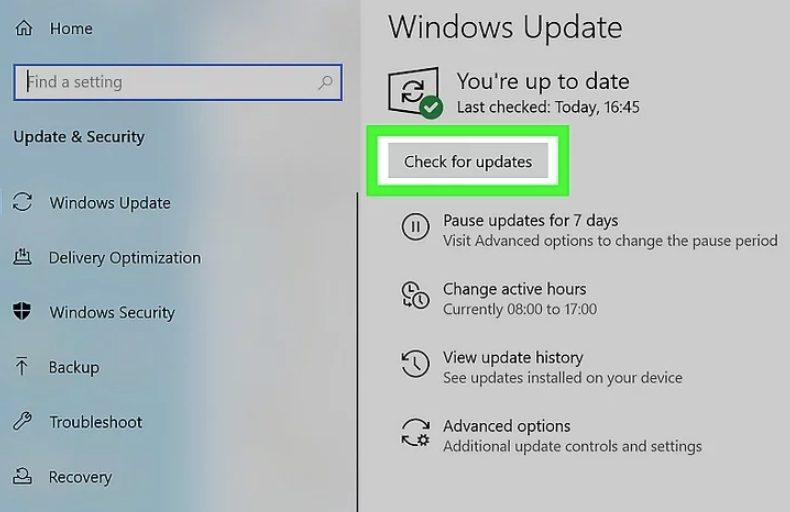
4. Click “Check for updates” It’s the button at the top of the page. Windows will check for updates. If an update is available, it will start downloading automatically. If no updates are available, you’ll see a message that says ″Windows is up to date.″
-
Leave this window open as the update installs so you’ll know whether you need to restart your computer.
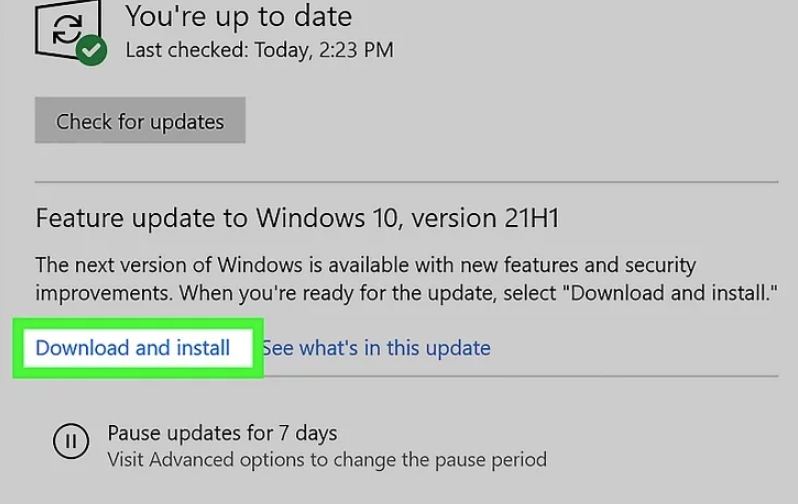
5. Click "Download and install" (optional). Occasionally, Windows will have optional features you can update too. To install these features, click Download and install below "Feature update to Windows 10".
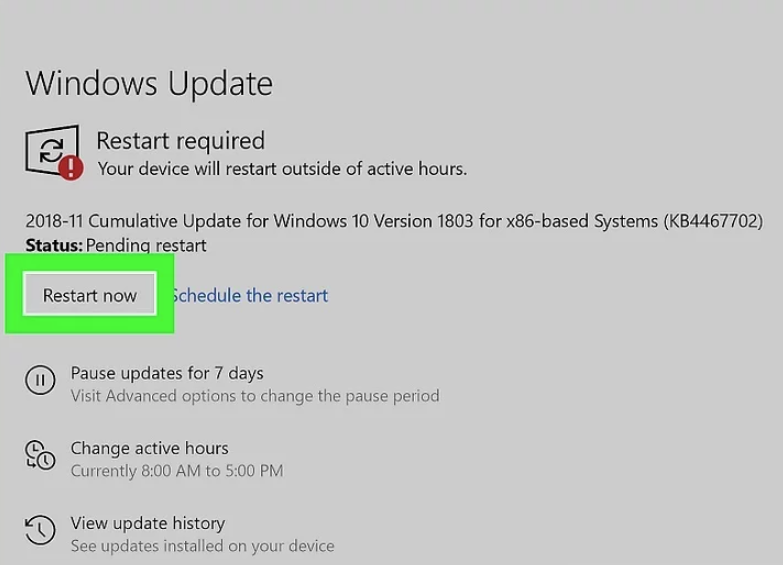
6. Click “Restart Now” It will appear below the header that says "Restart required" when the update is finished downloading. This will restart your computer and complete the update.
- Be sure to save anything you are working on before restarting your computer.
- To schedule a reboot for later, click Schedule the restart (on the Windows Update window), slide the switch to the On (blue) position, and then select a time you won’t be busy on the computer.
Using the Single Click Installer
(v8+) Installing ThinScale Desktop Agent for Secure Remote Worker (User Initiated mode)
1. Open a browser (Edge, Firefox or Chrome) and type or paste the link you were provided with [Link will be provided by your employer]
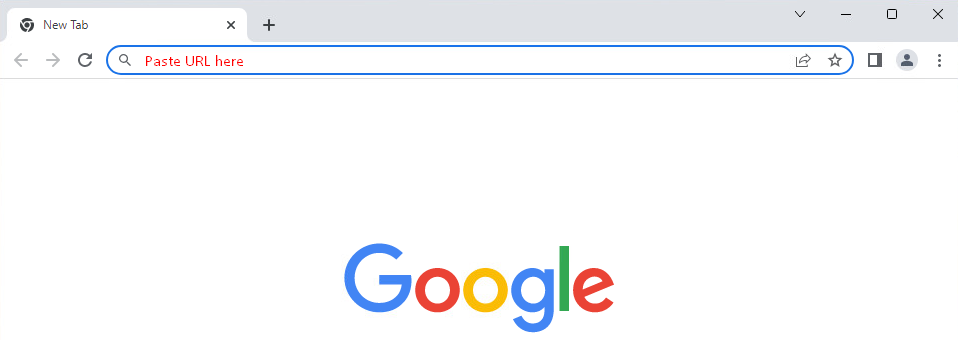
2. After pressing the Enter key, it will load the Thinscale site. You may be asked to enter certain info, such as your name, laptop model, etc. Once completed, the download should start automatically. Please open the downloaded file to run the installer.

3. Please allow a few moments for the installation to start. Click Yes to continue
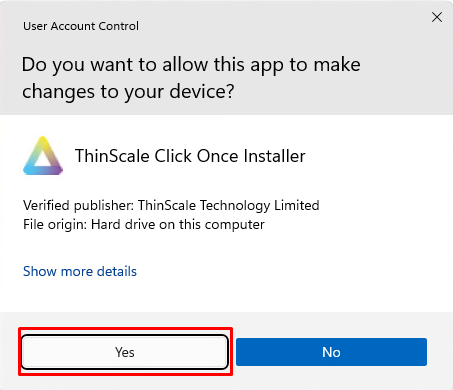
4. Installation will now continue. The setup will perform basic checks, will update to the latest version automatically, and ask for a reboot when completed. Click Yes to restart.

5. Log back into your Windows account. You will notice the Thinscale Desktop Agent icon on your desktop. Double-click to start the application for the first time in order to complete the setup.

6. Your company may employ a series of start-up checks to be performed to ensure your device meets defined requirements. Once completed, click Continue.

7. Next your company may deploy some software needed for work. Click Install and it will proceed.

8. The final step is to allow the Thinscale Desktop Agent to log you out of your personal account, and start a separated, secure work session. Please click Logout to continue

9. Windows will now log out and you will be presented with Secure Desktop Interface, example shown below, depending on your company settings.

(v7) Installing Secure Remote Worker
1. Open a browser (Edge, Firefox or Chrome) and type or paste the link you were provided with [Link will be provided by your employer]

2. After pressing the Enter key, it will load the Thinscale site. You may be asked to enter certain info, such as your name, laptop model, etc. Once completed, the download should start automatically. Please open the downloaded file to run the installer.

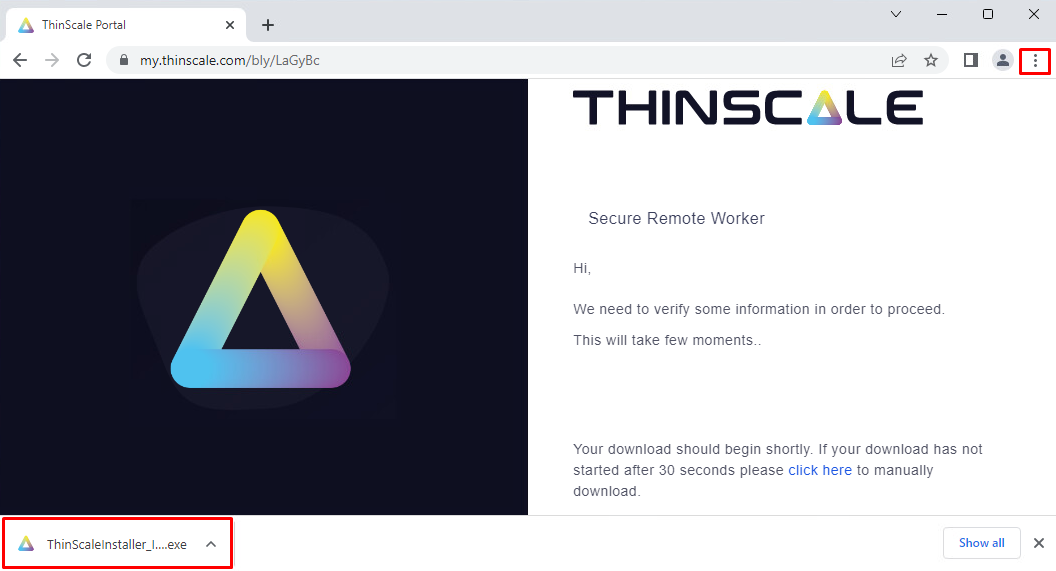
3. Please allow a few moments for the installation to start. Click Yes to continue

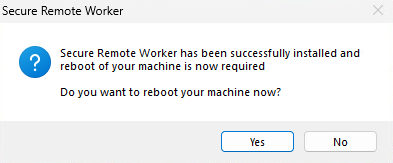
4. Installation will now continue. The setup will perform basic checks and ask for a reboot when completed. Click Yes to restart
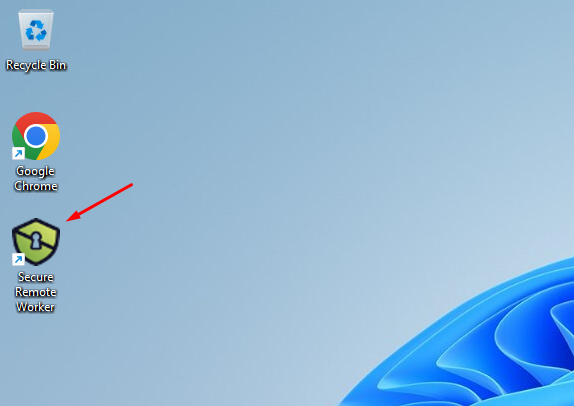
5. Log back into your Windows account. You will notice the SRW icon on your desktop. Double-click to start the application for the first time in order to complete the setup.
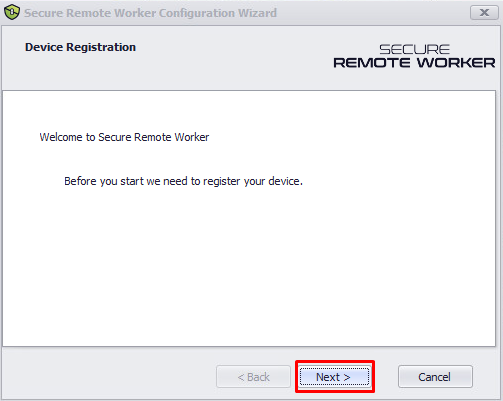
6. Your device needs to be registered, please click Next
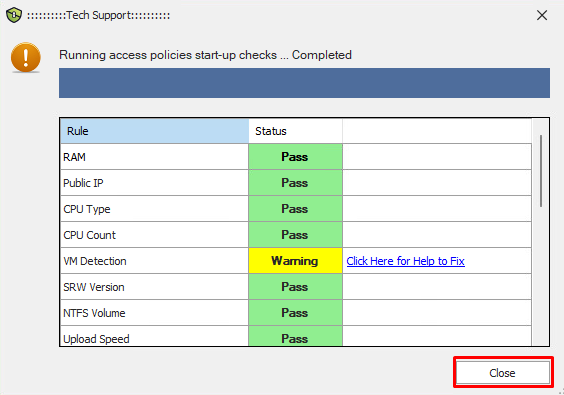
7. A series of start-up checks might be performed now, to ensure your device meets defined requirements. Once completed, click Close
8. Final step is to allow Secure Remote Worker to log you out of your personal account, and start a separated, secure work session. Please click Yes to continue

9. Windows will now log out and you will be presented with Secure Remote Worker Secure Desktop Interface, similar to the one below, depending on your company settings.

Problems?
In case you experience any issues during the process, please reach out to your IT support for assistance.