ThinScale Management Console User and Roles delegations
This article will outline how to give users different view of the Management Console based on permissions. #MC-KB9
As an Administrator, you always want to reduce the number of tasks or "power" normal users can have on specific software.
Thanks to the new Users and Roles permissions based functionalities in the Management Console now you can.
The first step is to create a Role.
I will be using "Read Only" as an example, where the user belonging to that Role will have a limited view of the Management Console.
To start, we create a User.
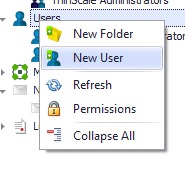
Right-click the User tab and select "New User"
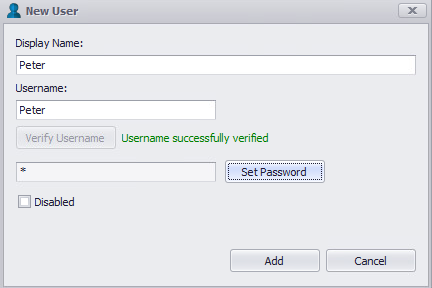
Give it a Display name, a Username and a Password.
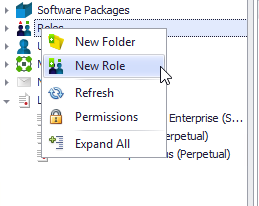
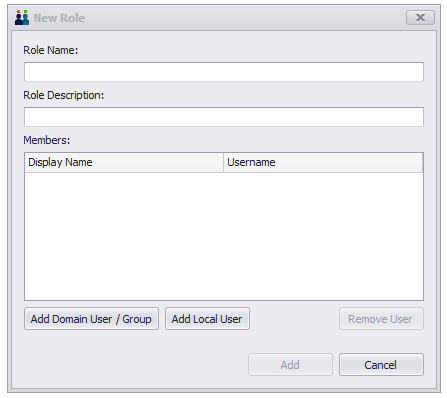
Once the user has been created, we need to create the role, so right-click Roles and choose New Role:
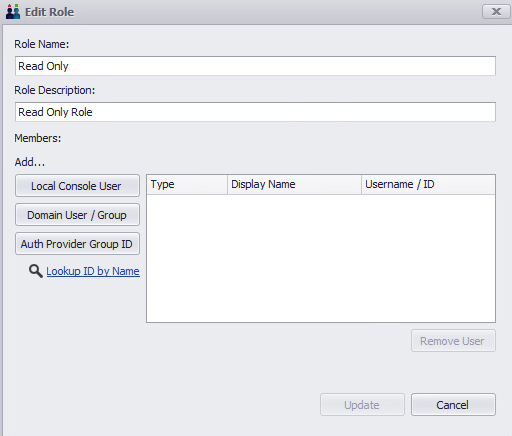
We need to assign Peter to the role we've just created, now. So Right-click the role and choose Edit Role.
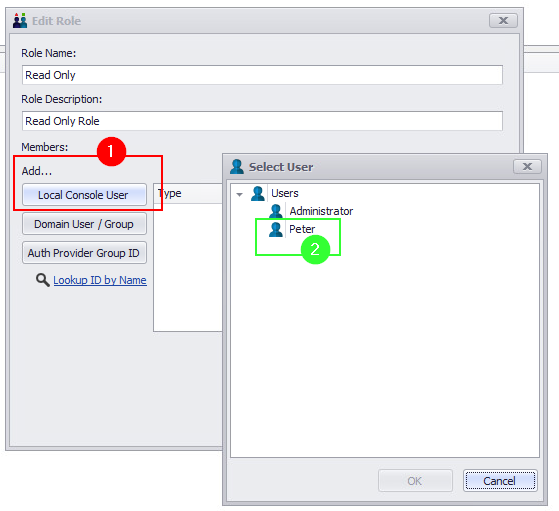
Seeing that Peter is a Local Console User, we click that button and choose the Peter username.
You can, now, see Peter in the list of users that are assigned to this role:
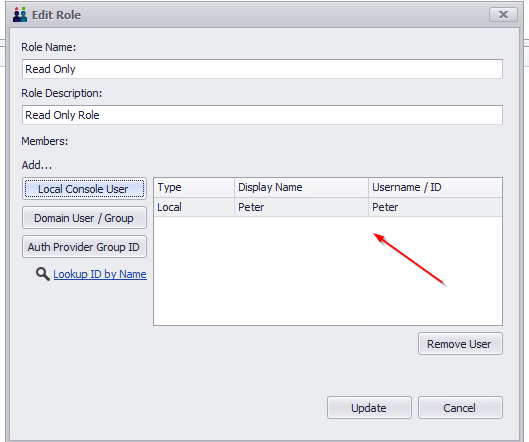
Click Update to complete this.
The next and final step is to assign the Permissions on the Console Nodes.
Let's give Peter access to only view the devices in SRW folder.
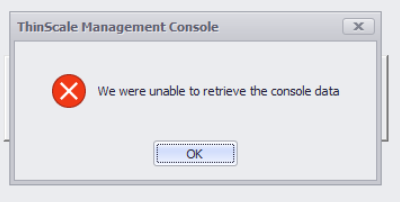
First, we need to assign the role to the root Devices node, otherwise you will get an error:
"We were unable to retrieve the console data"
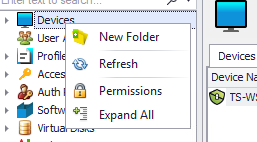
So, right-click the Devices Node and click "Permissions".
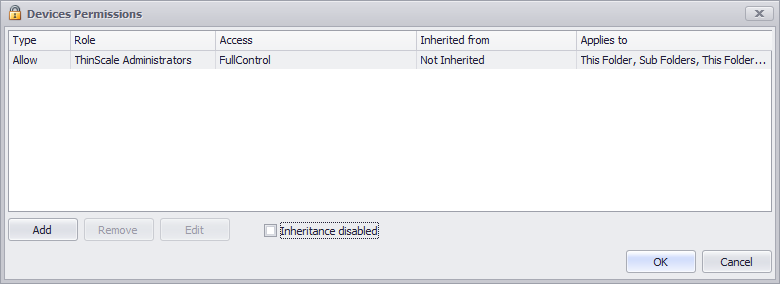
When the Permission dialog box is shown click Add.
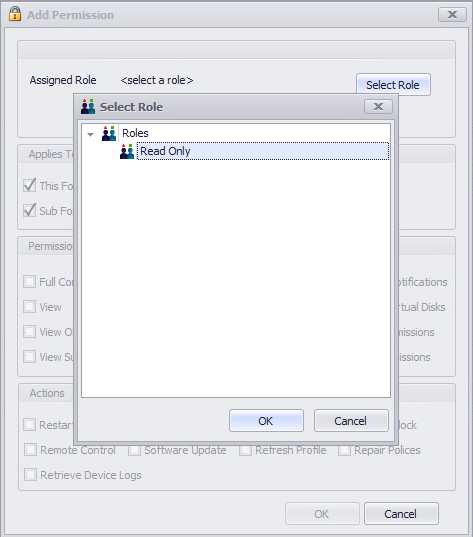
Select the Role you previously created.
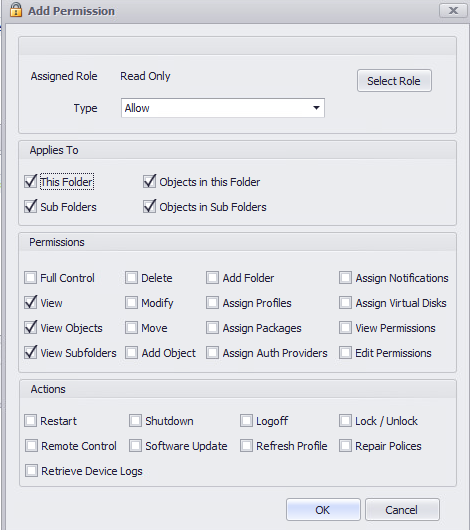
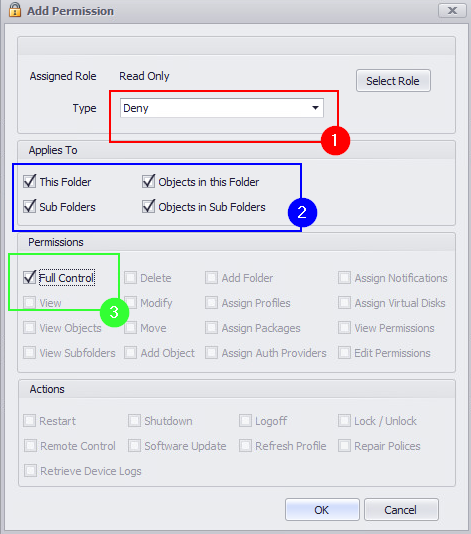
From this point, you can either Allow or Deny view to the folder, subfolders, and objects within them.
For my example, I will only allow this user to view for the folder, subfolders and objects within them.
Repeat for all the Nodes (folders within the Devices node) that you want the Role to have the access to.
If you log in with Peter's username, you would be able to view everything within the Devices root folder for now (without the ability to manipulate devices). In order to limit the user from seeing other folders, you have to assign the Deny permission to all other folders.
Log back in as Administrator and right-click the next Devices folder, in my case it's TK. Choose Permissions and Add a new permission. Here, we want to Deny the Read Only role to do anything to devices within this folder and its subfolders:
Repeat this for all folders that you do not want Peter to have access to.
Because I want him to have access to SRW folder only, I will apply this to every other folder within the Devices node.
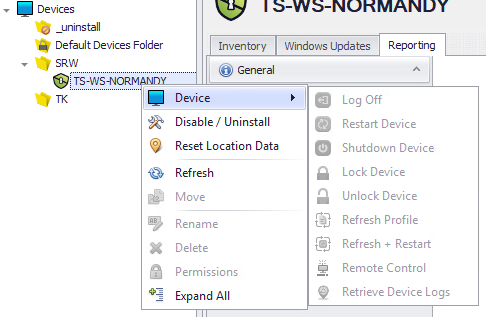
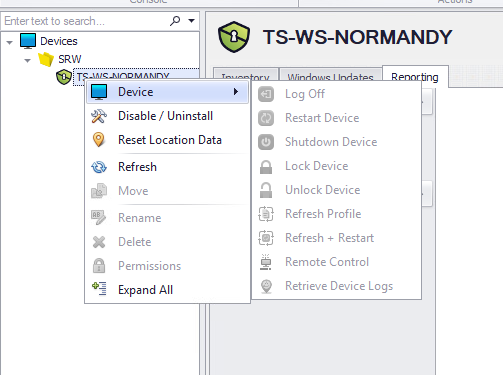
If I log in with Peter's username again, I can see he only sees the one folder and cannot manipulate the devices within it:
Example: Setting up a restricted "Junior Admin" role that can only read profiles and not edit them
We have the ability to fully control Console user permissions so that they can view and not edit.
1. First, please create a User that will have their own login into the Console via right-click-->New User on the Users section.
2. Next, also create a Role, and add the User to the Role. In my example below, I added the local JrAdmin user.
3. Next please right-click on "Profiles" at the top level and select Permissions. Here are the minimum permissions you'll need to set to allow viewing:
4. When my JrAdmin user logs in, this is all they'll see. They'll only have the View option and won't be able to save any changes they try to make for any profile.
5. Next, if we only want to allow the user to see certain profile folders, we can disable the Inheritance of our Profile permissions via right-click-->Permissions on the folder you don't want them to see. After disable Inheritance and hit OK and reopen, you'll notice my Trainee Role permission disappears as seen below.
6. Lastly, if you'd like a user to be able to view some profiles in a certain folder but not others, you can do right-click-->Permissions on specific profiles and also check the box"Inheritance disabled" to remove their permission.
DOMAIN ACCOUNT RULES
To create a Domain account, firstly log in with the auto-created “Administrator” account, then within the Roles section, you can either edit the Administrator role by right-clicking “Edit Roles” or add a new one.
- If you Edit the Administrator role a dialog box will open. Select Add Domain User/ Group and add the domain account you want to use to authenticate.
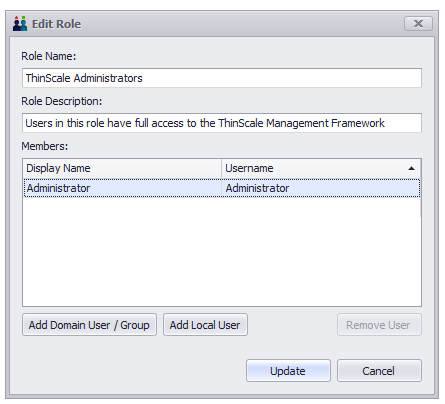
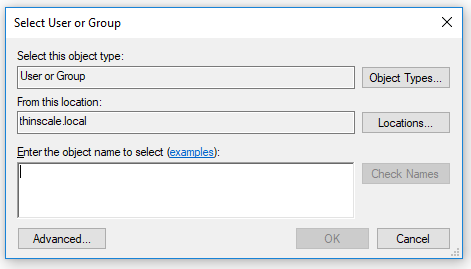
- If you create a new role, right-click on the Roles icon and select “New Role,” specify a role name and a description, and then add the domain account as in the previous step.
